To bake:
Once your 12 hour allotment of time has expired, you can proceed with either of the directions. As I have stated before, I do not have a degree in Molecular Science of Culinary Creations, (see here for the inside joke) nor am I advocating to be an expert, I'm just basing it off of my past bakes. I have done bread either way, and both taste just as good.
For both set of directions you will need the following:
- Flour for dusting the board and your fingertips
- Cornmeal or Wheat bran to dust loaf
- Parchment paper (optional) or Proofing basket
- Dough scraper
- Cooking spray
- Tea towel
- Dutch oven, corning ware dish with lid, or clay dish with clay lid
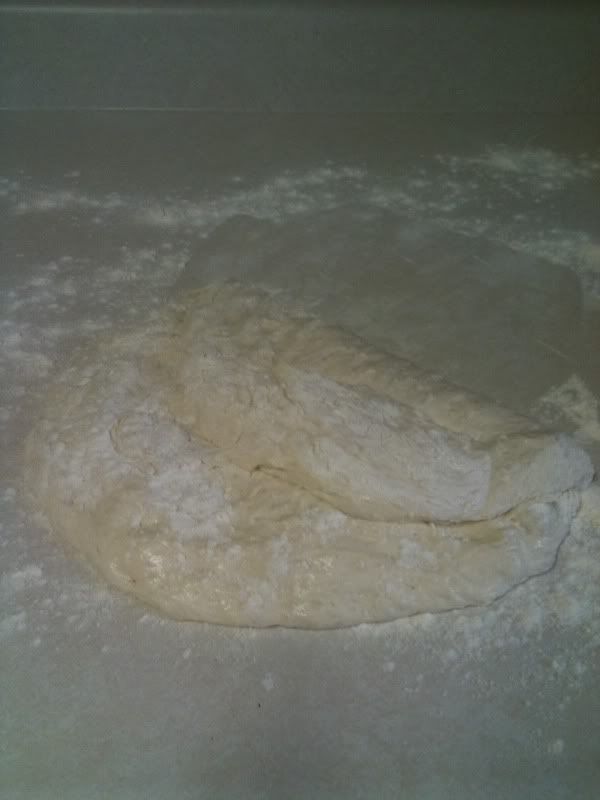
Flour your board/counter top, and turn dough out. Semi flatten the dough out trying not to be too rough with it. Dust with more flour on top.
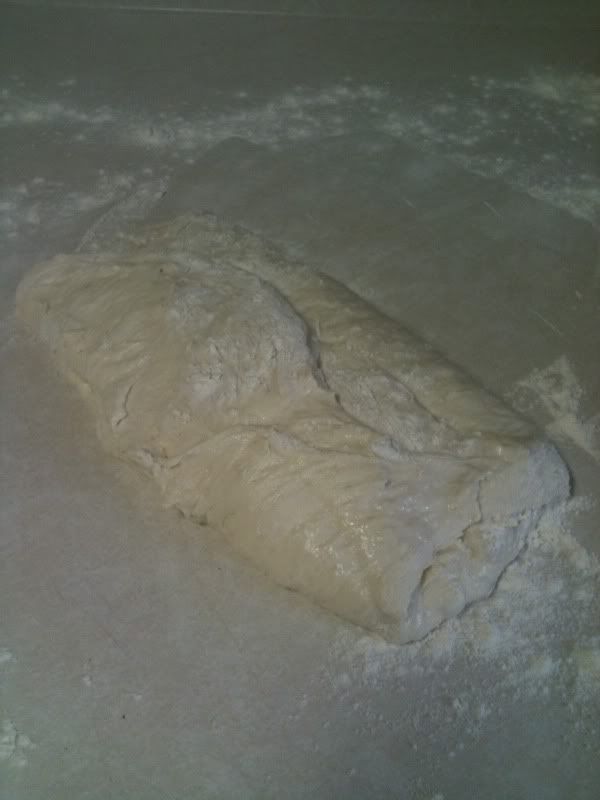
Fold dough into thirds. If dough sticks to your board, use your dough scraper to help fold the dough.
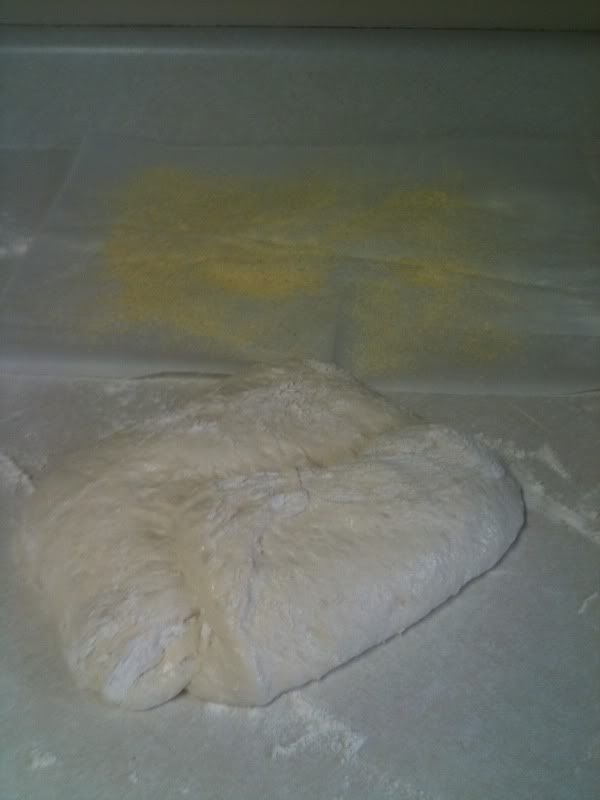
Fold dough into thirds again. This should sorta resemble a square.
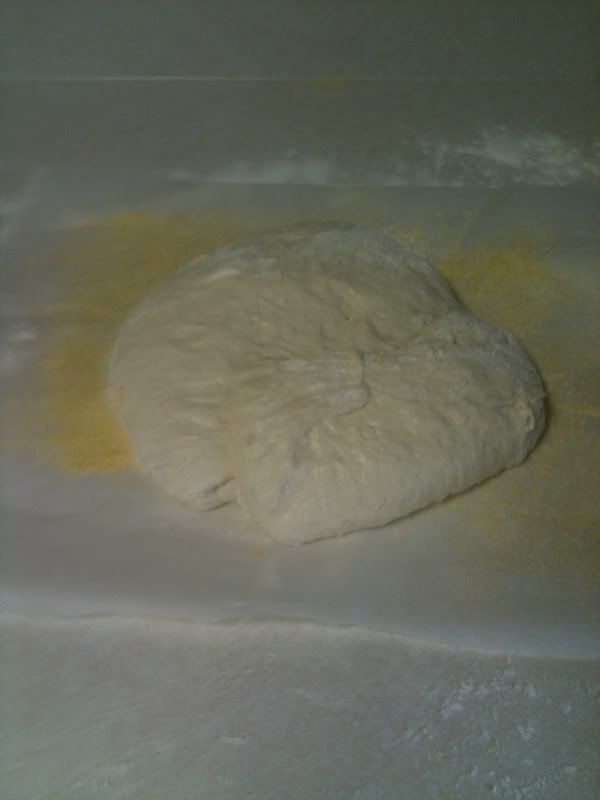
Lightly spray parchment or proofing basket with cooking oil and dust with cornmeal. Move dough onto dusted parchment paper, and back into your clean mixing bowl. This helps round out the dough.
Now here is where the directions will differ. Direction #1 will bake immediately, and direction #2 will bake after resting 2 hours.
Directions #1:
If using these directions, preheat your oven to 500 degrees adding in your baking dish and lid into the preheating oven before you fold your dough.
Once your oven has been preheated for 15-30 minutes, place your dough into the heated baking dish and cover with the lid.
Bake with the lid on for 30 minutes. Remove the lid after 30 minutes, lower the temperature to 450 degrees, and bake an additional 15-20 minutes.
Directions #2:
After rounding out the dough, let it rest for 1:30 minutes. After the allotted time, preheat your oven to 500 degrees adding in your baking dish and lid into the preheating oven.
Allow an additional 30 minutes of rest while your oven is preheating. Bake with the lid on for 30 minutes. Remove the lid after 30 minutes, lower the temperature to 450 degrees, and bake an additional 15-20 minutes.
Once your bread is done, DO NOT cut into it. As tempting as it is to eat HOT fresh baked bread, it still needs to cool down. I have found that my bread is drier if I cut into it too soon. So remember your patience will be rewarded for waiting.
I hope that you have found this tutorial helpful, and if you have any other tutorials you would like me to do, please feel free to leave me a comment.
Also, don't forget to enter the contest for the $5.00 Amazon gift card I have going. I still only have one entrant. This giveaway will expire at 2:00 PM PST on September 1, 2011.Enjoy!


The finished product looks delicious. Nice tutorial. Great for the beginner.
ReplyDelete- Britt T.
So I slacked off and am not ready to bake yet, but your bread looks so delicious! Need to get moving on this!
ReplyDelete